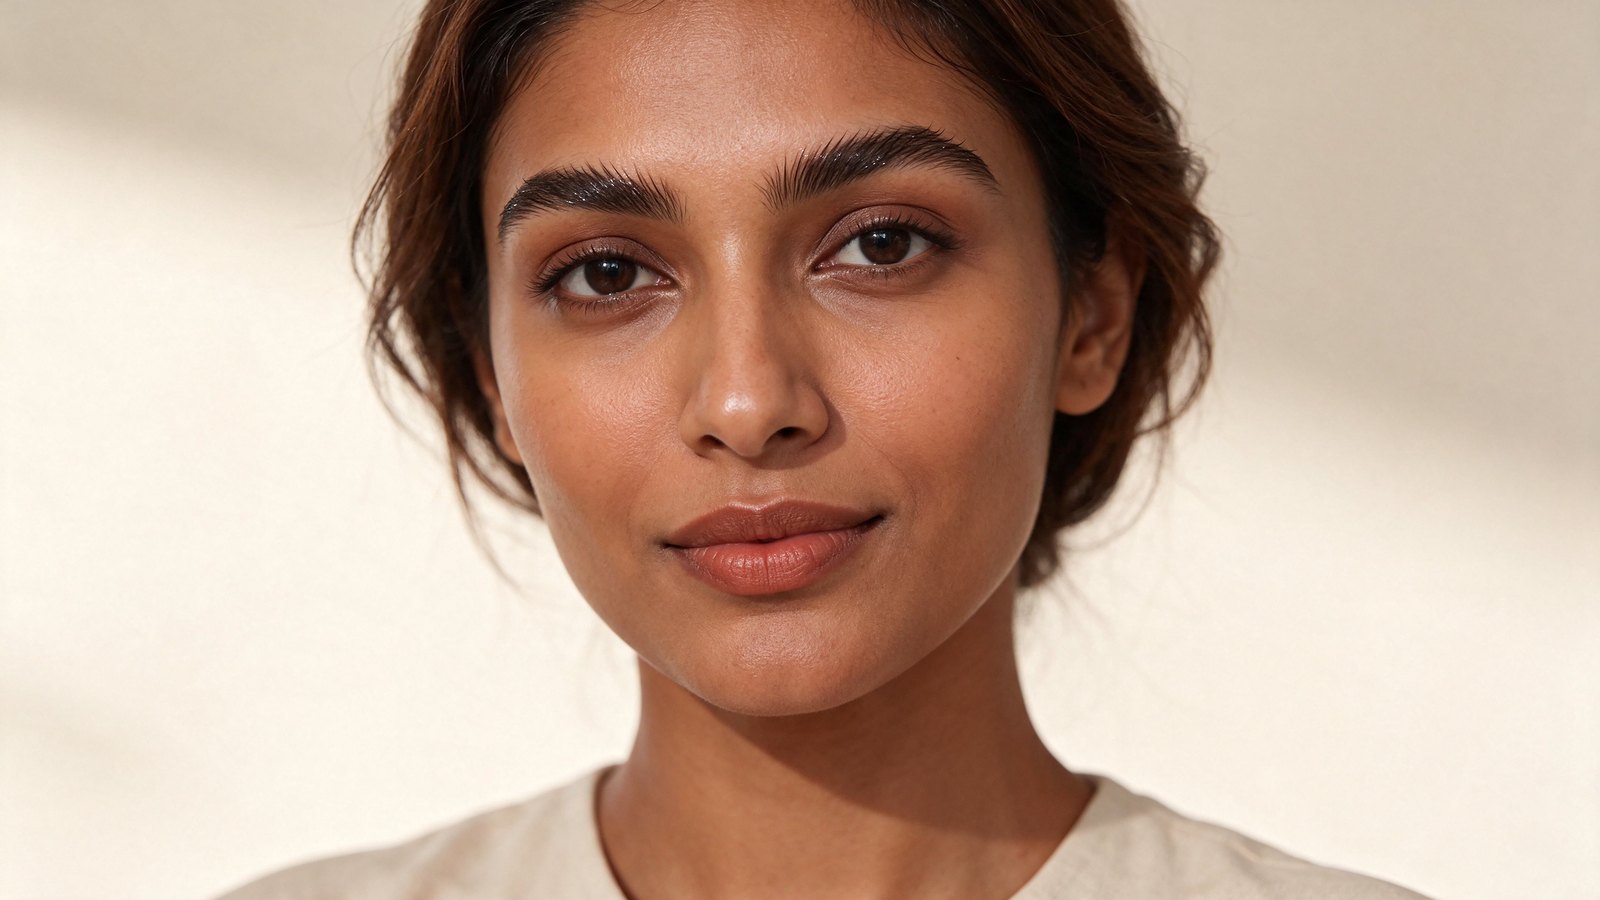
Brow glazing is a temporary styling approach that gives eyebrow hairs a subtle shine while keeping them softly fluffed and individually visible. A light layer of flexible brow gel, a few optional pencil strokes, and gentle brushing create the finish. Think polished hair texture, not a wet forehead or brows pressed flat against the skin.
If you like groomed brows but dislike a crunchy, heavily filled result, this is a useful look to try. You can work with your existing shape, adjust the direction for the day, and wash everything off at night. Here is how to make the glossy finish feel wearable.
What Is Brow Glazing?
In Byrdie’s 2026 eyebrow trend report, brow expert Joey Healy predicts brow glazing as a glossy, lightly fluffed direction. It fits the report’s wider emphasis on customized brows rather than one shape everyone must copy.
The phrase describes a finish, not a standardized salon treatment. For this tutorial, brow glazing means using everyday brow makeup to add restrained sheen and flexible definition. You do not need chemical processing, extra hair removal, or a product with “glazing” on the label.
How It Differs From Lamination and Soap Brows
Lamination chemically changes how brow hairs can be positioned. Brow glazing styles them temporarily with makeup. Soap-brow techniques can produce a flatter, stronger hold, although finishes vary by product. For glazing, choose visible hair separation and a gentle arch rather than a stiff, vertical fan.
Choose Products for Flexible Shine
Start With a Clear or Lightly Tinted Brow Gel
Clear gel lets your natural color show through. A lightly tinted version can make fair hairs more visible, but check the shade in daylight. Choose a formula intended for brows and a finish you find comfortable. A product marketed as extra-strong hold may feel firmer than the soft effect you want.
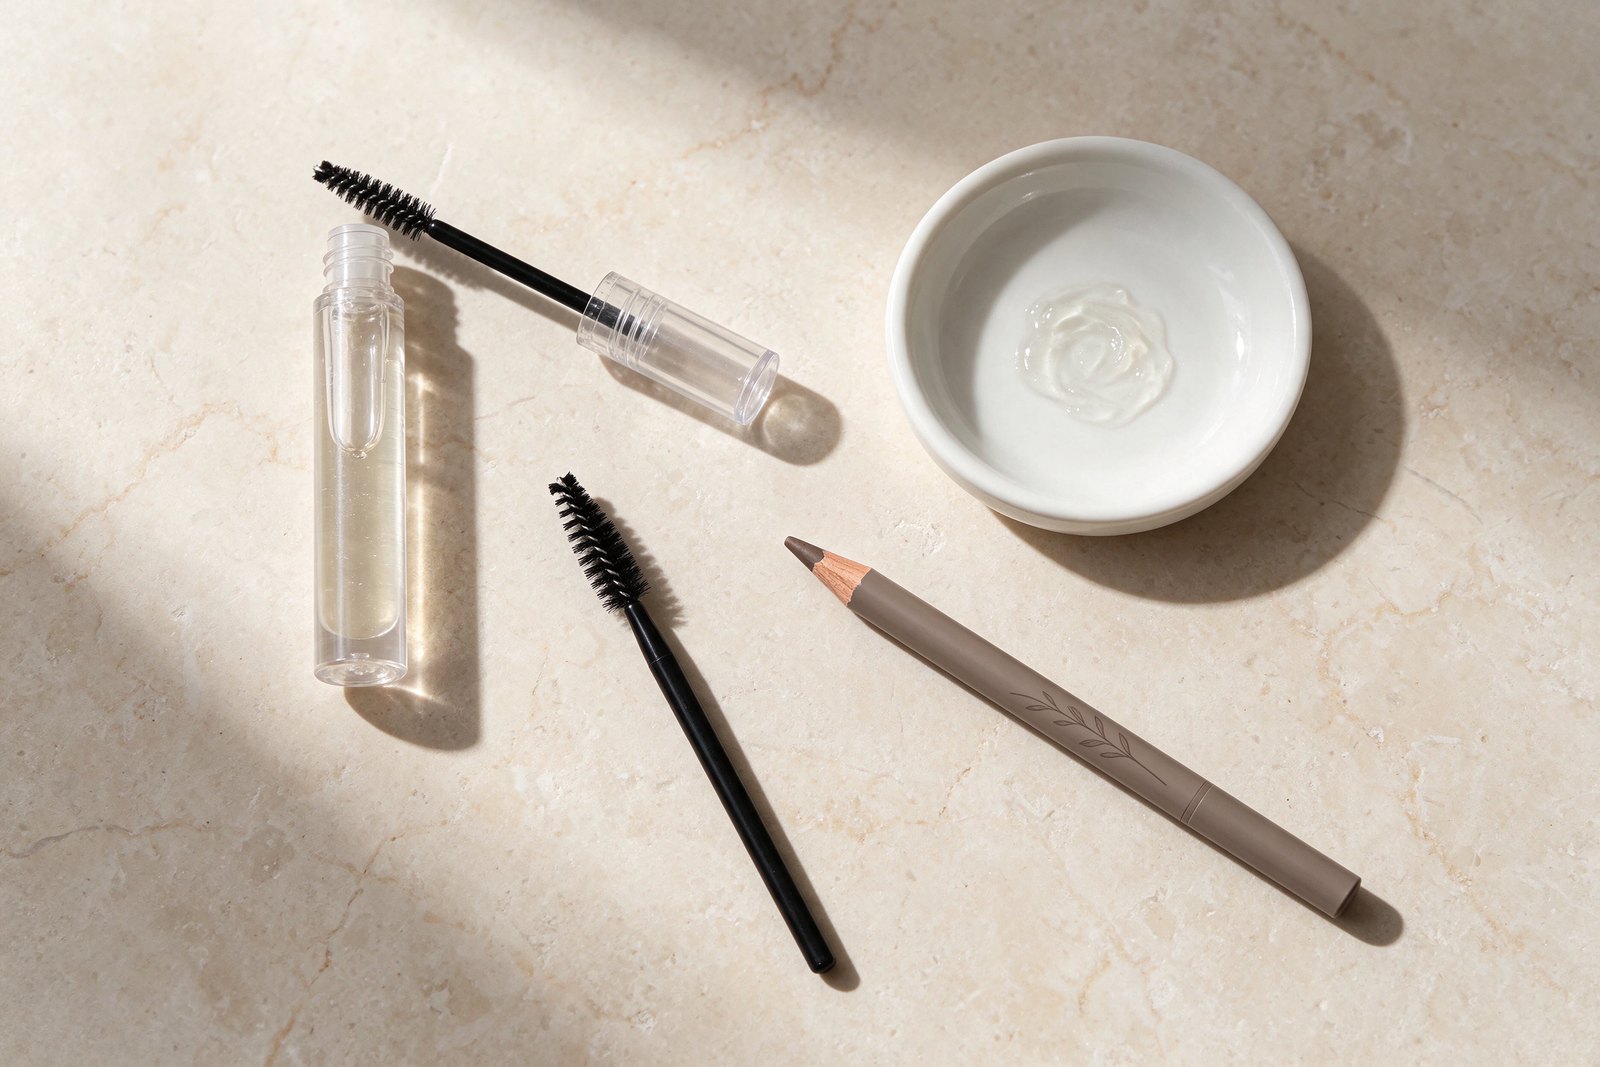
Keep Pencil and Tools Simple
A fine-tip pencil helps with small gaps, while a clean spoolie separates hairs. Skip pencil if your brows already look full enough. Our soft-defined brow tutorial explains natural-looking filling; here, the focus is the finishing sheen rather than adding density everywhere.
Do not improvise with craft glue, hair gel, or loose glitter. More shine is not automatically better, especially when a product is not designed for this area.
How to Do Brow Glazing Step by Step
Reveal Your Natural Hair Direction
Begin with clean brows and let your usual skincare absorb. Wash your hands and use a clean, dry spoolie to brush the front slightly upward, then guide the middle and tail outward. Look at your whole face before deciding where any filling is needed.
Do not stretch the skin or force every hair straight up. Following the natural growth pattern gives you a more comfortable starting point and keeps the finish from looking rigid.
Fill Only the Gaps You Want to Soften
Add a few short pencil strokes where the skin shows through more than you prefer. Match the surrounding hair direction, then gently blend before applying gel. Leave the inner brow airy. A dark rectangular front or continuous lower outline can overwhelm the glossy texture.
Apply One Light Coat and Adjust
Remove excess gel from the applicator using the packaging’s recommended method. Brush a small amount through the hairs, guiding them upward at the front and outward toward the tail. Use less than you think you need; you can add a tiny amount to an unruly section while the formula remains workable.
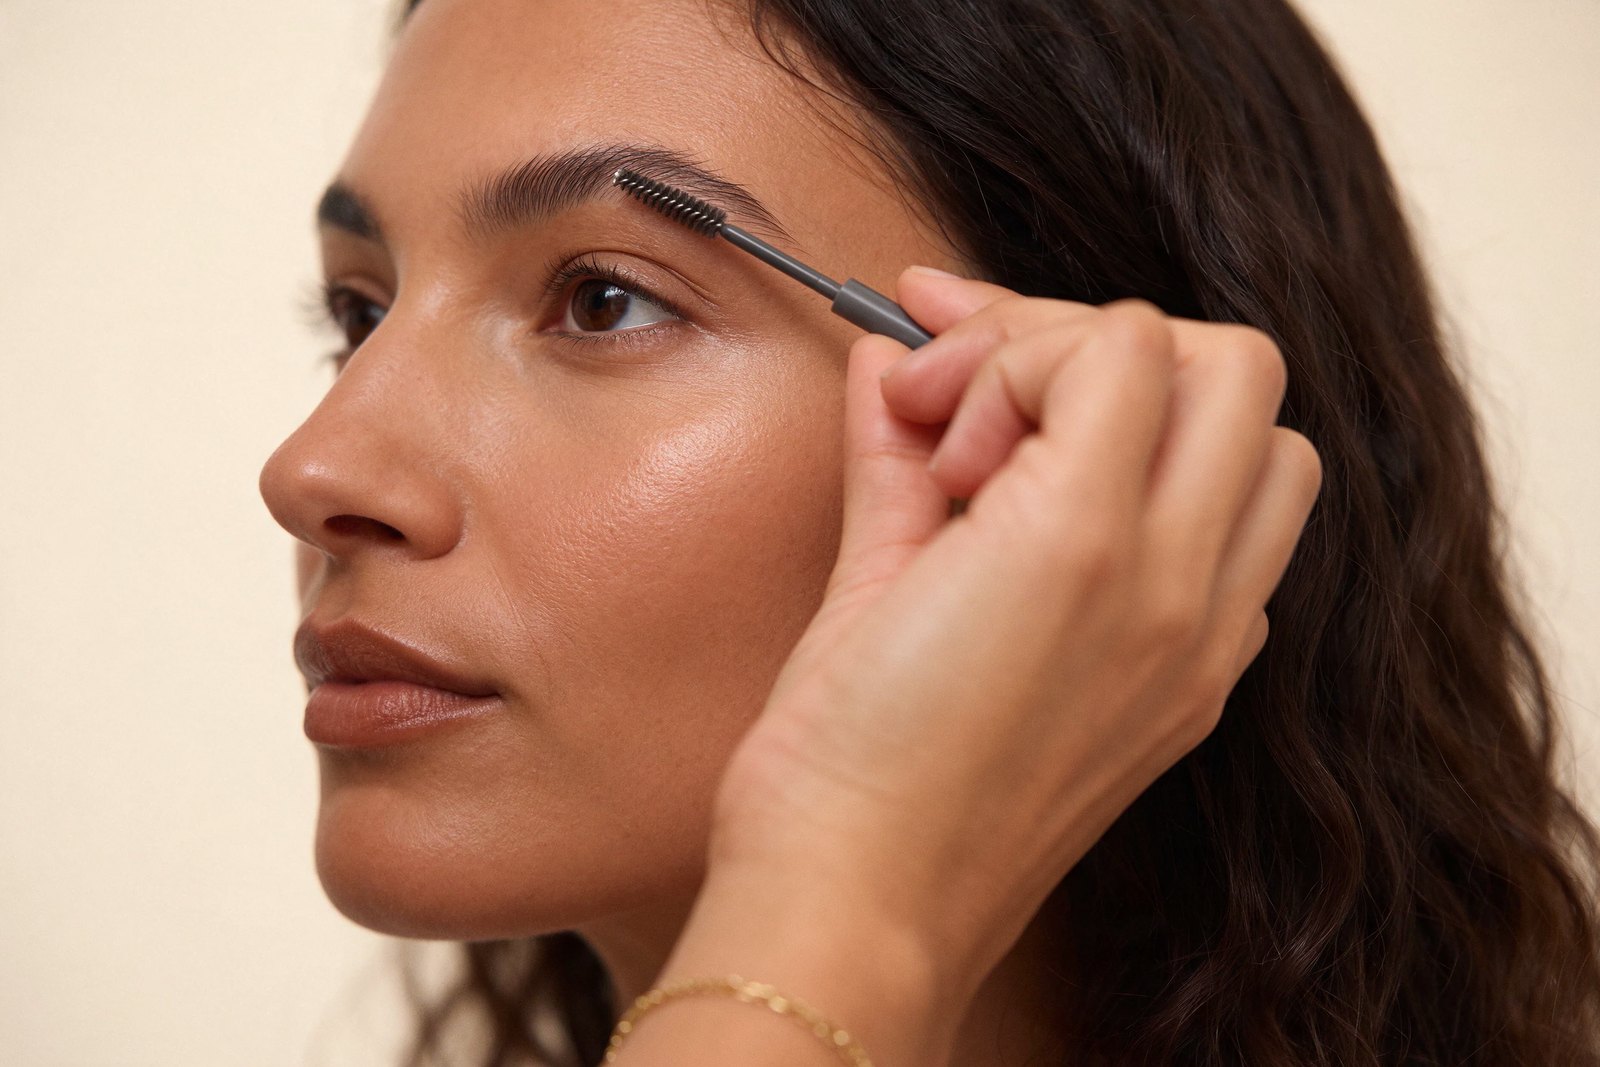
Check the brow at normal mirror distance. Smooth any awkward tips with the applicator rather than pressing the entire brow flat. Let the product set according to its directions, then avoid repeatedly brushing a dried film, which can encourage flakes.
Adapt the Finish to Your Brow Type
Sparse or Fair Brows
A light tint may help pale hairs stand out, while pencil can provide selective definition in gaps. Keep gel coverage modest so the shine does not draw attention mainly to bare skin. Glazing coats existing hairs; it does not create new growth or replace missing hair.
Full or Coarse Brows
Full brows often need gel alone. Coarse hairs may need a more supportive formula, but try targeted application before adding a second full coat. If soft hold cannot maintain a direction, work closer to the hair’s natural position instead of layering until it feels uncomfortable.
Recently Laminated Brows
Follow your provider’s instructions about when styling products can be used after treatment. Our brow lamination aftercare guide discusses maintenance, but the instructions for your specific service take priority. Glazing is optional, not a required extra step.
Keep the Gloss Soft and Balanced
The shine should sit mainly on the hair, not in a broad greasy patch around it. If excess product lands outside the brow, remove it carefully before it dries without wiping away the hairs you have styled. Avoid topping the brows with facial highlighter or several glossy layers.
A softly defined lash line, neutral shadow, and comfortable lip color let the texture stand out. For evening, you can add more eye definition without making the brows darker. The finish does not require perfectly matching brows; small natural differences are normal.
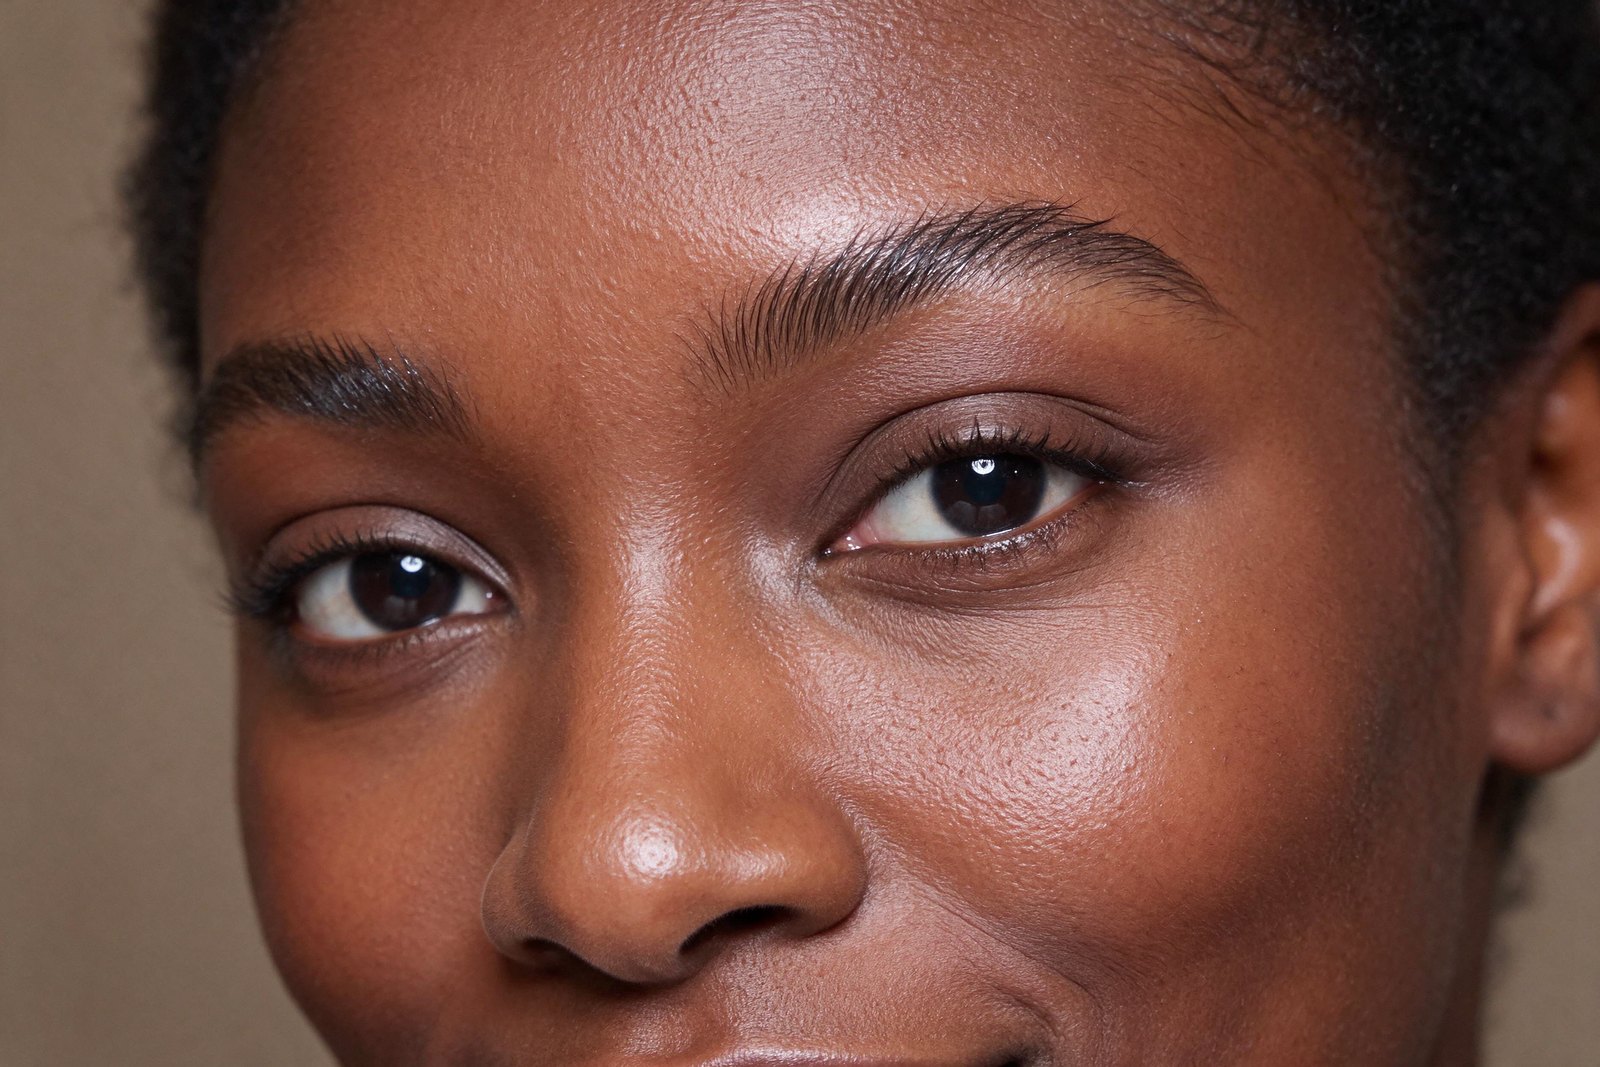
Want a straighter silhouette as well? Our guide to trying flat brows without over-plucking covers reversible shape changes. Shape and shine are separate choices, so you can glaze a gently arched brow just as easily.
Brow Glazing Questions and Troubleshooting
Why Are My Brows Flaky or Stiff?
Too much product, residue beneath it, or brushing after it sets can contribute to flakes or stiffness. Remove the buildup gently and retry with less gel. If the finish still feels uncomfortable, change the formula instead of adding more layers.
Will Brow Glazing Last All Day?
Wear depends on the formula, hair texture, skincare, and conditions. Test your routine on an ordinary day before an event. For a touch-up, check whether the product allows layering; avoid piling fresh gel over a flaky film.
How Should I Remove It?
Use a remover or cleanser suitable for the product and brow area, following its directions. Let it loosen the makeup before gently wiping or rinsing. Avoid scraping dried gel away or tugging hairs with a brush.
The FDA’s eye cosmetic safety guidance recommends clean hands and tools, appropriate products, and no sharing. Stop using a product that irritates you and seek medical advice if irritation persists. Start with one comfortable layer and let your natural brow texture remain visible.